Most geeks will at some stage want to access and control a remote machine from the comfort of their own keyboard and mouse. This is a guide to help said geeks get setup with a VNC server (on remote machine) and client (on your local machine). Before you start you will need to make sure you have a VNC server running on your remote machine (I usually install tigervnc) and a VNC client running on your local machine (I use Remotix, but another solid choice is JollysFastVNC).
To setup a VNC session:
Open a terminal window on your local machine, ssh onto the remote machine and run the command:
vncserver -geometry 1920x1200Obviously change the geometry for the resolution of the screen you are going to be using your VNC Client on1. The output should look something like:
New 'remotemachinename:1 (username)' desktop is remotemachinename:1Make a note of the display port number of the VNC session that’s just been created (should be
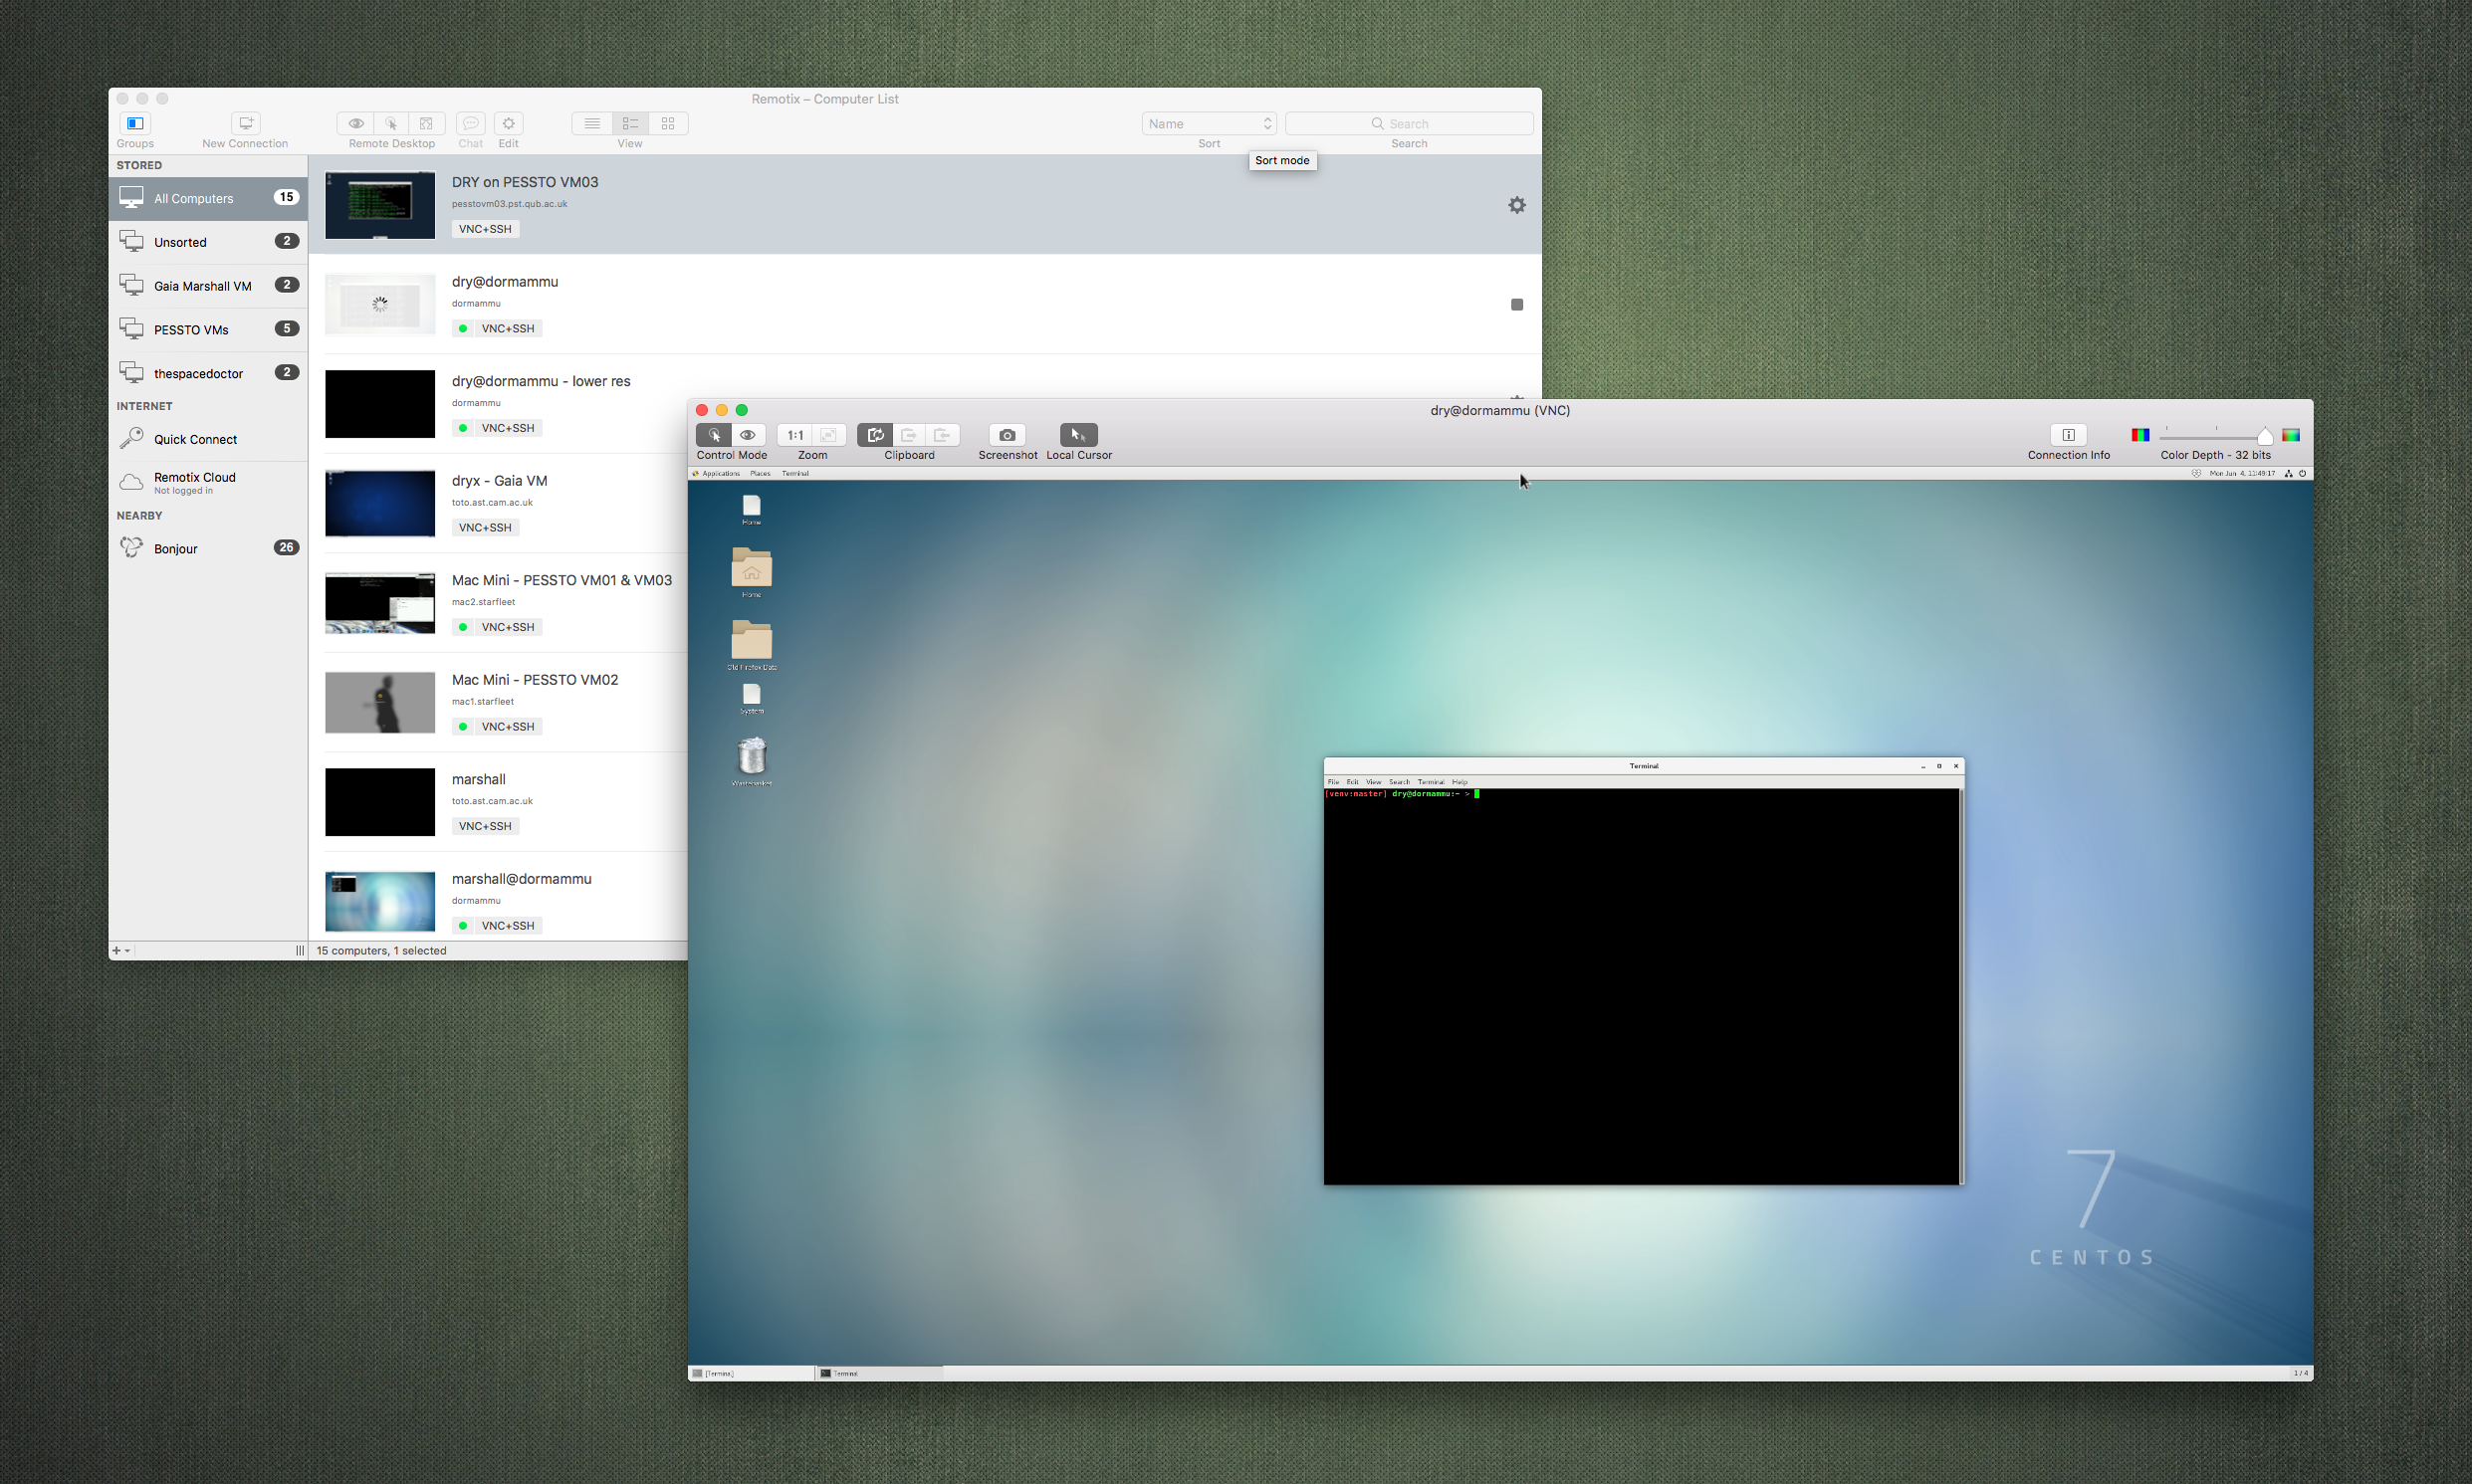
1if this is the only session being run on the remote machine).Start your VNC client and add a new server to the client by filling in the appropriate details for the server name, network address, display port etc. The display port will be 590x, where x is the number of the you made a note of in step 1.

That’s all there is to it.
Extra Credit
Killing a VNC Session on the VNC Server
To kill a session, ssh onto the remote machine and use the command vncserver -kill :display#, for example:
vncserver -kill :1
Clipboard Sync
When logged in with your VNC client, open a terminal and type:
vncconfig -iconic &
This needs to be running for clipboard sync. To start clipboard sync automatically whenever you start a new session, just add vncconfig -iconic & to your startup file found in:
.vnc/xstartup
-
for my 4K screen 3360x1890 works well, but on my 15'' MacBook screen I use 1920x1200 ↩